Introduction to Feature Images in WordPress
Feature images, often referred to as “post thumbnails,” play a pivotal role in the realm of blog posts. These images serve as the visual gateway to your content, enticing readers to click and explore further. The importance of feature images cannot be overstated; they are essential in capturing the attention of potential readers amidst the vast ocean of online content. A compelling feature image can significantly enhance the overall visual appeal of a blog, making it more engaging and memorable.

In addition to their aesthetic value, feature images contribute to the Search Engine Optimization (SEO) of a blog post. Search engines like Google consider the relevance and quality of images when indexing and ranking web pages. By incorporating well-optimized feature images with appropriate alt text, bloggers can improve their chances of appearing higher in search engine results. This, in turn, can lead to increased organic traffic and greater visibility for their content.
Moreover, feature images play a crucial role in social media engagement. When blog posts are shared on social media platforms, the feature image is often the first element that catches the eye of users. An appealing and relevant image can entice social media users to click on the link, thereby driving more traffic to the blog. Social media platforms such as Facebook, Twitter, and LinkedIn automatically pull the feature image when a link is shared, further emphasizing the importance of selecting a captivating visual.
In summary, feature images are a fundamental aspect of blogging, contributing to both the visual allure and discoverability of content. They not only attract readers but also enhance SEO and boost social media engagement, making them an indispensable tool for any successful blog. As we delve deeper into the mechanics of changing feature images using WordPress plugins, it is essential to recognize their multifaceted benefits and strategic importance in the digital landscape.
Understanding the Basics: What is a Feature Image?
In the realm of WordPress, a feature image is a prominent visual element that represents the content of a blog post. It is often displayed at the top of the post, serving as a visual introduction and setting the tone for the content that follows. Unlike inline images, which are embedded within the text of a blog post to support specific points or add visual interest, a feature image is designed to capture attention and provide a cohesive aesthetic for your blog.
Feature images play a crucial role in enhancing user engagement and improving the overall look and feel of your website. They are also used in various other contexts, such as on the blog archive page, in social media previews, and in related post suggestions. This makes them an essential part of your blog’s visual strategy.
The dimensions and formats for feature images can vary depending on the theme and layout of your WordPress site. However, a common standard dimension is 1200 x 628 pixels, which ensures that the image is large enough to look good on high-resolution screens while still being small enough to load quickly. JPEG and PNG are the most frequently used formats due to their balance of quality and file size. JPEG is typically preferred for photographs and complex images, while PNG is better suited for images with transparency or simple graphics.
To ensure that your feature images are effective, consider the following best practices: select high-quality images that resonate with your content, maintain consistency in style across all blog posts, and use descriptive alt text to improve accessibility and SEO. Understanding these basics will not only enhance the visual appeal of your blog but also contribute to a more engaging and professional user experience.
Preparing Your Images: Best Practices
When preparing images for use as feature images on your blog posts, adhering to best practices is crucial for ensuring optimal performance and visual appeal. One of the foremost considerations is image resolution. High-resolution images typically look more professional and are less likely to appear pixelated on high-definition screens. Aim for a resolution of at least 1200 pixels on the longest side for a crisp and clear appearance.
File size is another critical factor. Large image files can significantly slow down your website’s loading time, negatively affecting user experience and potentially harming your search engine rankings. Aim to keep your image files under 500 KB whenever possible. You can achieve this by compressing images without sacrificing too much quality. Tools such as TinyPNG and ImageOptim are excellent for reducing file sizes while maintaining visual integrity.
Choosing the right format is equally important. JPEG is generally the preferred format for photographic images due to its balance of quality and file size. PNG is ideal for images requiring transparency, such as logos or icons, although it typically results in larger file sizes. For vector graphics, SVG is a suitable choice as it is scalable without losing quality.
Optimizing images for web use goes beyond just resolution, file size, and format. It’s beneficial to use software that can further refine your images. Adobe Photoshop offers advanced features for image optimization, including a ‘Save for Web’ option that provides control over quality and file size. For those seeking free alternatives, GIMP and Canva are excellent tools that offer a range of functionalities for image preparation.
Incorporating these best practices will ensure that your feature images enhance your blog’s aesthetic appeal without compromising performance. By optimizing resolution, managing file sizes, and selecting appropriate formats, you can create visually engaging blog posts that load quickly and captivate your audience.
One of the key aspects of managing a successful blog is maintaining visually appealing and relevant feature images for your posts. Utilizing WordPress plugins can simplify this process significantly. Here, we will explore some of the top WordPress plugins specifically designed for changing feature images, each offering unique functionalities and benefits to streamline your workflow.
Featured Image From URL
The Featured Image From URL plugin allows users to set feature images using external URLs. This is particularly useful if you have a repository of images hosted elsewhere or prefer using images from online resources. The plugin supports various image formats and even integrates with popular image hosting services. Its main benefit lies in saving server storage while ensuring your blog posts remain visually engaging.
Quick Featured Images
The Quick Featured Images plugin offers a comprehensive solution for managing feature images in bulk. With this plugin, you can quickly set, replace, or remove feature images for multiple posts simultaneously. It also includes options to assign default feature images, ensuring that no post goes without a visual. This saves considerable time, especially for blogs with extensive content archives.
Auto Featured Image
The Auto Featured Image plugin automates the process of setting feature images by scanning the content of your posts and selecting the first image found. This is particularly advantageous for bloggers who frequently incorporate multiple images within their posts and want a seamless way to ensure every post has a feature image. Additionally, this plugin can be configured to prioritize specific image sources, enhancing its versatility.
These plugins each provide distinct functionalities tailored to different needs, whether you require external URL integration, bulk management, or automated feature image selection. By leveraging these tools, you can enhance the visual appeal of your blog posts efficiently and effectively.
How to Install and Activate a WordPress Plugin
Installing and activating a WordPress plugin is an essential skill for any website owner. Plugins enhance the functionality of your site, making it easier to customize and manage. Follow this step-by-step guide to install and activate a WordPress plugin effortlessly.
Step 1: Access the WordPress Dashboard
First, log in to your WordPress admin area. You can access the dashboard by typing yourdomain.com/wp-admin in your browser’s address bar. Enter your username and password to proceed.
Step 2: Navigate to the Plugins Section
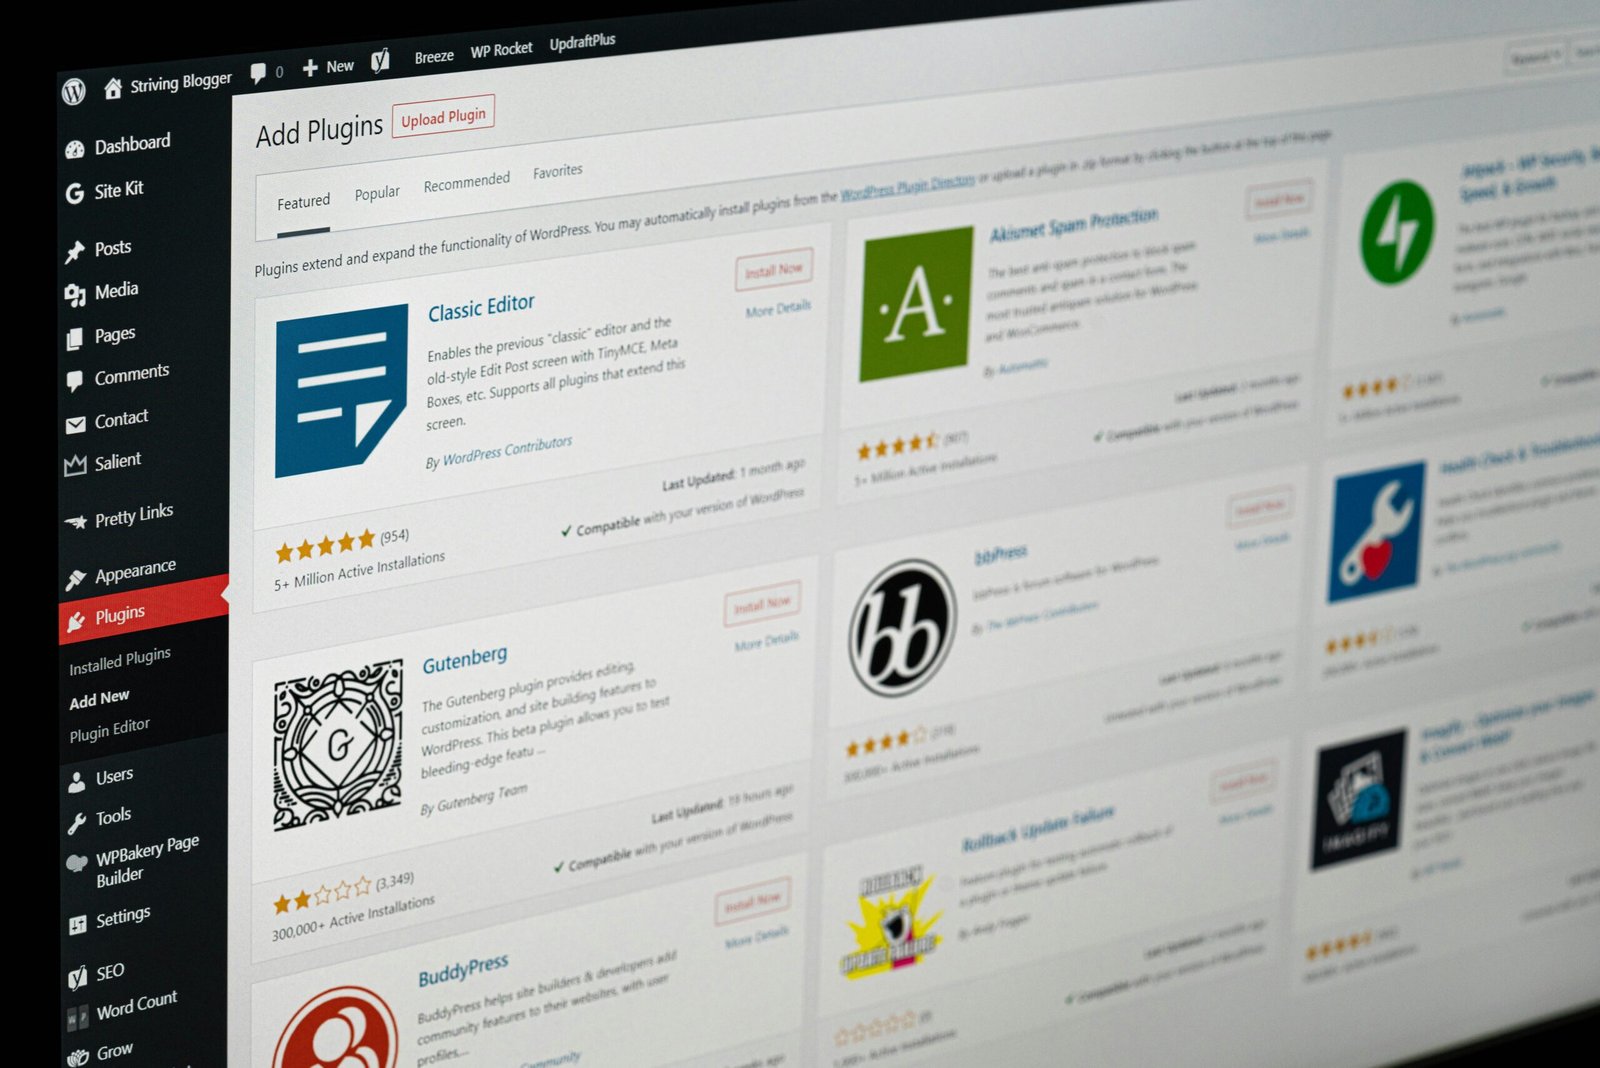
Once logged in, locate the left-hand menu in your WordPress dashboard. Click on “Plugins,” then select “Add New.” This will take you to the WordPress Plugin Repository, where you can browse or search for plugins.
Step 3: Search for a Plugin
In the search bar on the top right, type the name of the plugin you wish to install. For example, if you want to change feature images, you might search for “Easy Feature Image.” A list of relevant plugins will appear below the search bar.
Step 4: Install the Plugin
Once you find the plugin, click the “Install Now” button next to it. WordPress will automatically download and install the plugin for you. This process usually takes a few seconds.
Step 5: Activate the Plugin
After installation, the “Install Now” button will change to “Activate.” Click “Activate” to enable the plugin on your site. You will be redirected to the plugins page, where you can configure the newly activated plugin, if needed.
Step 6: Configure the Plugin
Some plugins require additional setup. Navigate to the plugin’s settings page, usually accessible through the left-hand menu or directly from the plugins list. Follow the specific instructions provided by the plugin developer to customize its settings according to your needs.
By following these steps, you can easily install and activate any WordPress plugin, enhancing your website’s functionality and user experience. Whether you’re a beginner or an experienced webmaster, mastering this process is crucial for effective website management.
Step-by-Step Guide: Changing Feature Images Using Plugins
Changing feature images in WordPress can be streamlined with the use of dedicated plugins. This guide will walk you through the process using some of the most effective plugins available. We’ll focus on two popular options: “Featured Image from URL” and “Quick Featured Images.” Follow these steps to effortlessly update your blog’s visual appeal.
Using “Featured Image from URL” Plugin
Step 1: Install and activate the “Featured Image from URL” plugin. Navigate to your WordPress dashboard, go to Plugins and click on Add New. Search for “Featured Image from URL,” install it, and then activate the plugin.
Step 2: Go to the post or page where you want to change the feature image. In the post editor, you will now see a new box labeled Featured Image from URL.
Step 3: Enter the URL of the image you wish to use as your feature image. Ensure the URL is correct and the image is publicly accessible. Click the Preview button to confirm the image is displayed correctly.
Step 4: Update or publish your post. The new feature image will now be displayed on your blog post.
Using “Quick Featured Images” Plugin
Step 1: Install and activate the “Quick Featured Images” plugin. Again, navigate to Plugins, click Add New, search for “Quick Featured Images,” install, and activate it.
Step 2: Configure the plugin settings. Go to Settings > Quick Featured Images. Here, you can set rules for automatic feature image assignments or batch replace feature images for multiple posts.
Step 3: To change the feature image of a specific post, edit the post and find the Featured Image meta box. Click on Set featured image and select or upload a new image from your media library.
Step 4: Save your changes. The new feature image will be updated on your blog post.
These plugins offer straightforward solutions for managing feature images. Whether you prefer using URLs or batch processing, these steps will help you maintain a visually appealing blog with minimal effort.
Troubleshooting Common Issues
Changing feature images using WordPress plugins can occasionally present challenges, such as images not displaying correctly, plugin conflicts, and performance issues. Understanding these common issues and knowing how to troubleshoot them can save time and ensure a smoother experience.
One frequent problem is the featured image not displaying correctly. This issue might stem from incorrect image dimensions or file formats. To resolve this, ensure that the image meets the recommended dimensions set by your theme. Additionally, use standard image formats like JPEG or PNG. Clearing the browser cache and refreshing the page can also help verify if the image displays correctly.
Plugin conflicts are another common challenge. When multiple plugins are installed, they may interfere with each other, causing the feature image to not update or display properly. To identify the conflicting plugin, deactivate all plugins and then reactivate them one by one, checking the feature image functionality each time. Once the problematic plugin is identified, consider finding an alternative plugin that offers similar functionality without causing conflicts.
Performance issues can also arise, especially when using high-resolution images or multiple plugins. Large images can slow down page load times, affecting the overall performance of your site. To mitigate this, optimize images before uploading them by reducing their file size using tools like TinyPNG or ImageOptim. Moreover, limit the number of active plugins to those essential for your site’s functionality to reduce the load on your server.
In conclusion, changing feature images in WordPress can sometimes be tricky due to issues like image display problems, plugin conflicts, and performance setbacks. By ensuring correct image dimensions and formats, identifying and resolving plugin conflicts, and optimizing images for performance, you can effectively manage and troubleshoot these common challenges, ensuring your featured images enhance your blog posts seamlessly.
Conclusion and Additional Tips
As explored throughout this guide, changing feature images for blog posts in WordPress can be efficiently managed using various plugins. These tools are invaluable for simplifying and enhancing the visual appeal of your content. Key takeaways include understanding the ease of use provided by plugins such as Yoast SEO, WP Smush, and Featured Image from URL, each offering unique functionalities to customize and optimize your feature images.
When managing feature images, maintaining consistency in image style and branding is crucial. A uniform aesthetic not only strengthens your brand identity but also creates a cohesive visual experience for your readers. Consider establishing guidelines for image dimensions, color schemes, and other stylistic elements to ensure a professional and polished look across all blog posts.
Additionally, it’s essential to experiment with various plugins to determine which one aligns best with your specific needs and workflow. Each plugin has its strengths, whether it’s simplifying image optimization, automating the process of setting feature images, or integrating seamlessly with your overall content management strategy. Don’t hesitate to trial different options and leverage the support communities for each plugin to maximize their potential.
Furthermore, always be mindful of image quality and load times. High-resolution images are important for visual appeal, but they should be optimized to ensure they do not slow down your website. Tools like WP Smush can help compress images without sacrificing quality, enhancing both the aesthetic and performance of your site.
Incorporating a strategic approach to feature images can significantly impact your blog’s engagement and professionalism. By leveraging the right plugins and adhering to consistent styling practices, you can ensure that each blog post resonates visually with your audience while maintaining optimal site performance.